Activate Button
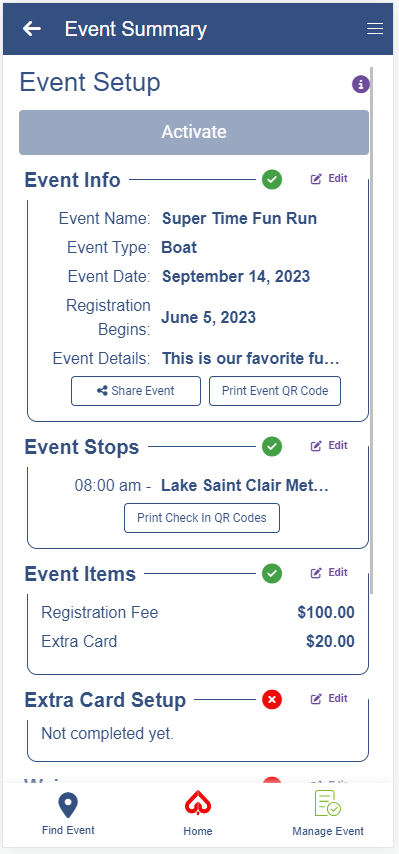
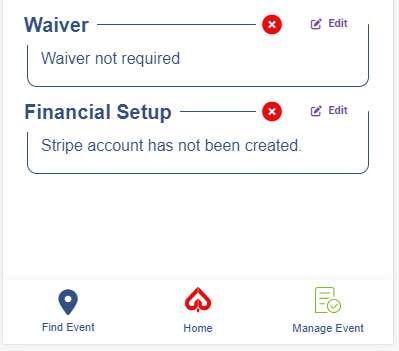
Once you have completed the required steps to setting up your event, you will be able to activate and participants will be able to register. If you have not completed the required steps, the activate button will remain grayed out until you have setup your event.
Event Info
This section has the event information you inputed during the initial setup. You can click the edit option to make changes to this information.
Share Event Button
You will use this button to share your event with your future participants. The share event button will remain greyed out and inactive until the event has been activated.
Print Event QR Code
You will use this button to print a QR code that can be scanned by participants to register for your event. The print Event QR Code button will remain greyed out and inactive until the event has been activated.
Event Stops
Click the edit button to change details about your stops, or if you have not completed adding your stops, you can click edit to add more stops. The stops section will remain red until you have chosen to distribute all of your cards at corresponding stops. Once you have all of your cards designated to be distributed at a stop, the section will then go to a green status.
Print Check In QR Codes
You will use this button to print QR codes that can then be distributed at your stops for your participants to scan. Scanning the QR code will check the participant into that stop and distribute the associated cards. The Print CHeck In QR Codes button will remain greyed out and inactive until the Event Stops section has turned green.
Event Items
Thsi section allows you to edit your registration and extra card fees.
Extra Card Setup
If you chose to provide the extra card option during event creation, you will need to go into the extra card setup and define when the extra card can be purchased and when it will be distributed. Once you have completed these settings the extra card setup section will go green.
|

